
AI-Driven Inventory Forecasting: The Complete Guide for Modern Distributors
Managing inventory across thousands of SKUs and multiple warehouse locations is one of the most operationally demanding challenges distributors face. A single inaccurate forecast creates a chain reaction: excess stock ties up capital in the wrong products, stockouts lose sales that never recover, and delayed shipments damage customer relationships built over years. Demand forecasting and […]
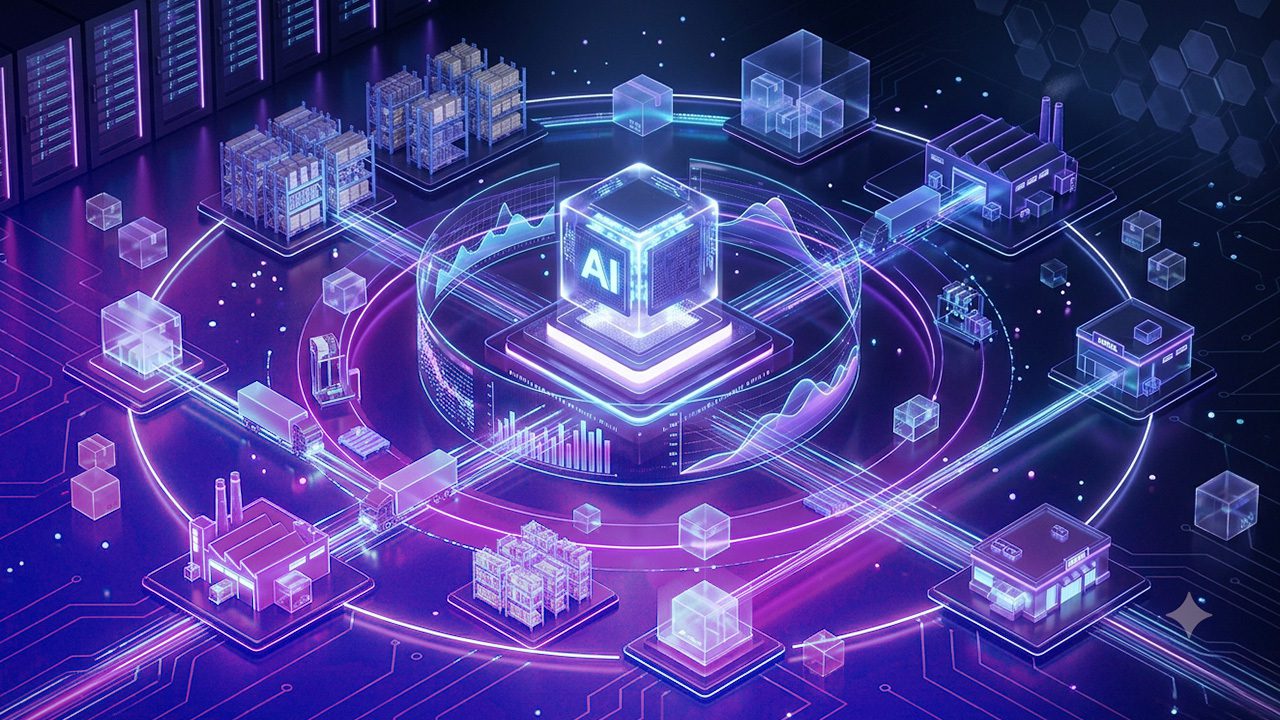
Managing inventory across thousands of SKUs and multiple warehouse locations is one of the most operationally demanding challenges distributors face. A single

Most product data does not live in one place, and that is the root of the problem. It tends to be spread
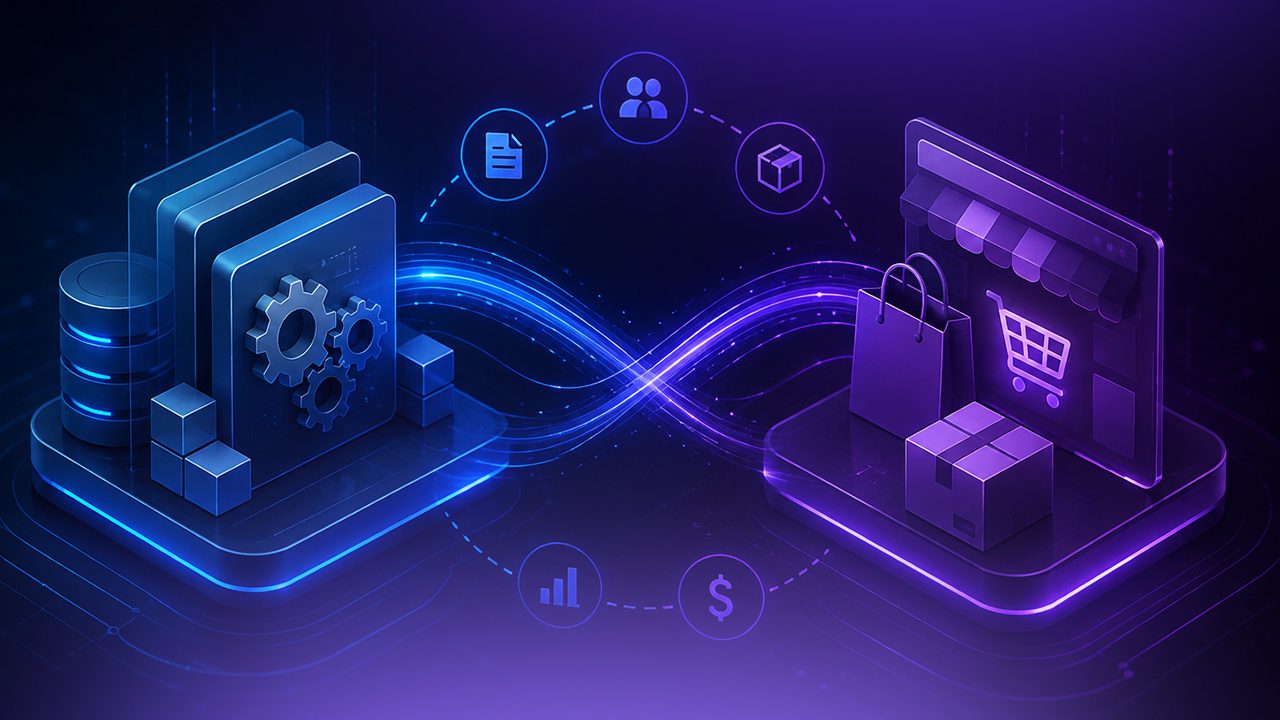
Learn the most common ERP eCommerce integration mistakes B2B companies make and how connected systems improve inventory, orders, pricing, and operations.

Learn how conversational AI agents work, their benefits, types, and use cases, plus why integration decides whether they resolve or just talk. Read Now!
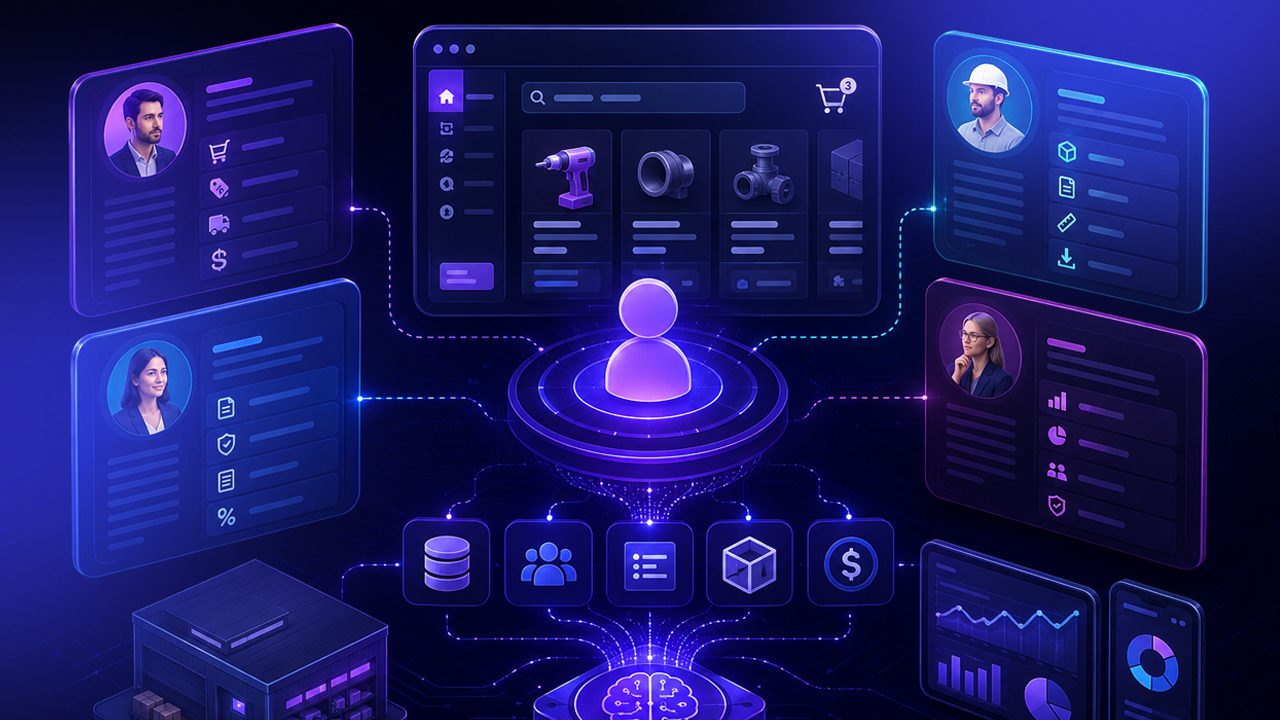
B2B buyers today expect the same relevance they get as consumers: account-specific pricing, role-based catalogs, and content that reflects their actual procurement
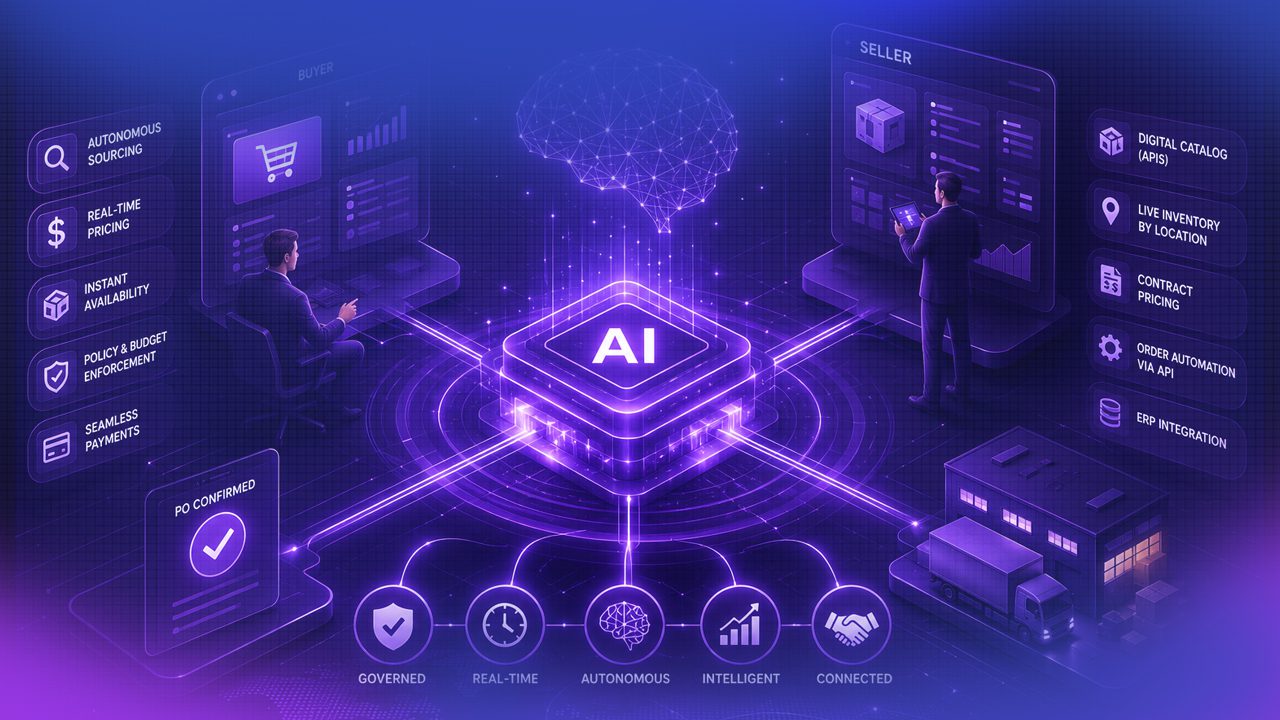
AI agents are placing B2B orders now. Learn what agentic commerce means for manufacturers and distributors in 2026, and how to prepare. Read Now!

Launching a Shopify store is not just about building features. Every theme update, custom app integration, and code deployment can impact performance,

A blind shopper opens your store with a screen reader. The menu reads as “link link link,” the product images are silent,

It’s no secret that traditional monolithic platforms cannot meet the challenges of current digital commerce. They are less customizable, slower to innovate,

Is your Magento store actually connected to your ERP? Learn what real Magento ERP integration involves and how to get it right. Read Now!

BigCommerce hitting its limits? Learn when to migrate to Magento, what it costs, and how to move without losing traffic or revenue.

Moving Epicor Prophet 21 (P21) to the cloud is no longer just a technology upgrade. For distributors, it is becoming a business
Ask any B2B buyer what they want from a storefront and the list gets long fast: speed, pricing that reflects their contract,

File uploads are a common feature in Magento stores. Customers upload artwork, documents, images, and other files when placing orders. While this

A complete guide to headless commerce architecture, platforms, development, benefits, challenges, and how businesses can scale digital experiences.

Learn how Figma MCP enables AI-powered design-to-code automation, covering setup, workflows, real examples, and production-ready outputs.

B2B buyers expect the same smooth online experience they get from consumer brands. They want accurate inventory, customer-specific pricing, fast ordering, and

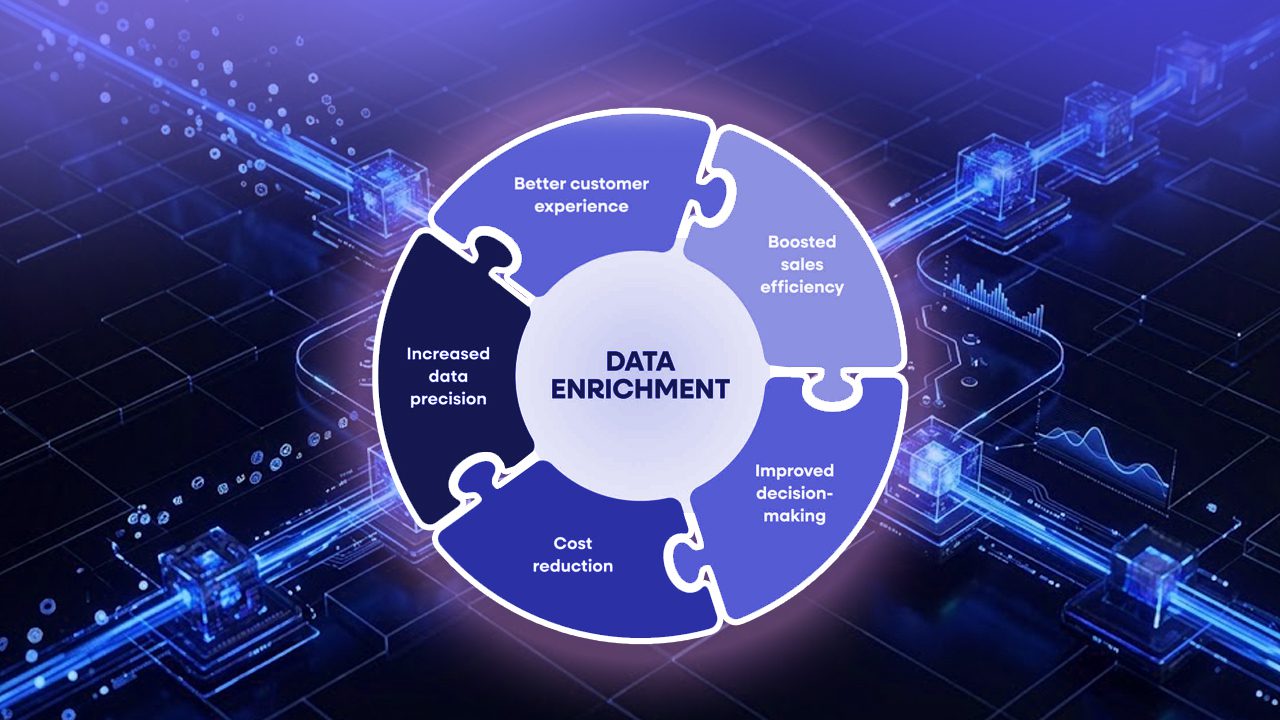
Learn how AI-driven product data enrichment improves AI visibility, conversions, SEO, and catalog accuracy with automated enrichment workflows and structured product data.
You’ve got a great product. You’ve set up your store. You’re running ads. But your conversion rate is stubbornly low, shoppers are

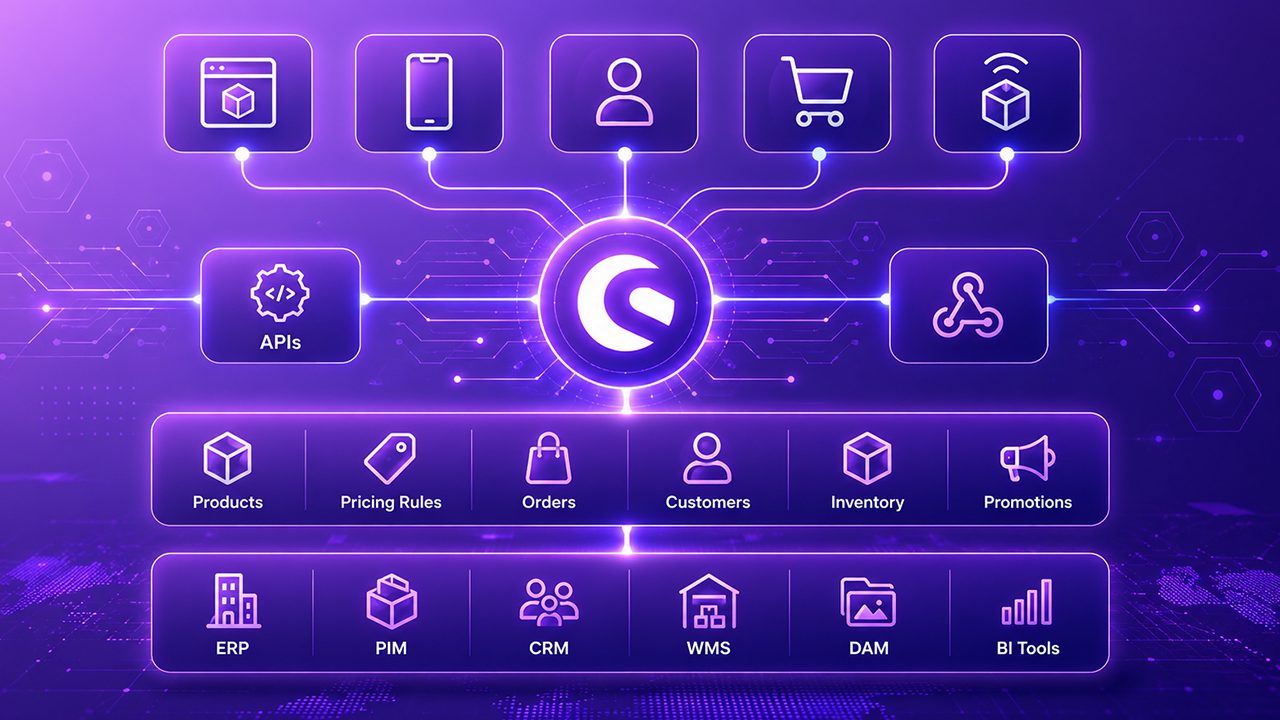
Discover how Shopware enables hyper-personalization in B2B eCommerce with AI-driven recommendations, personalized catalogs, dynamic pricing, and smarter buying experiences.